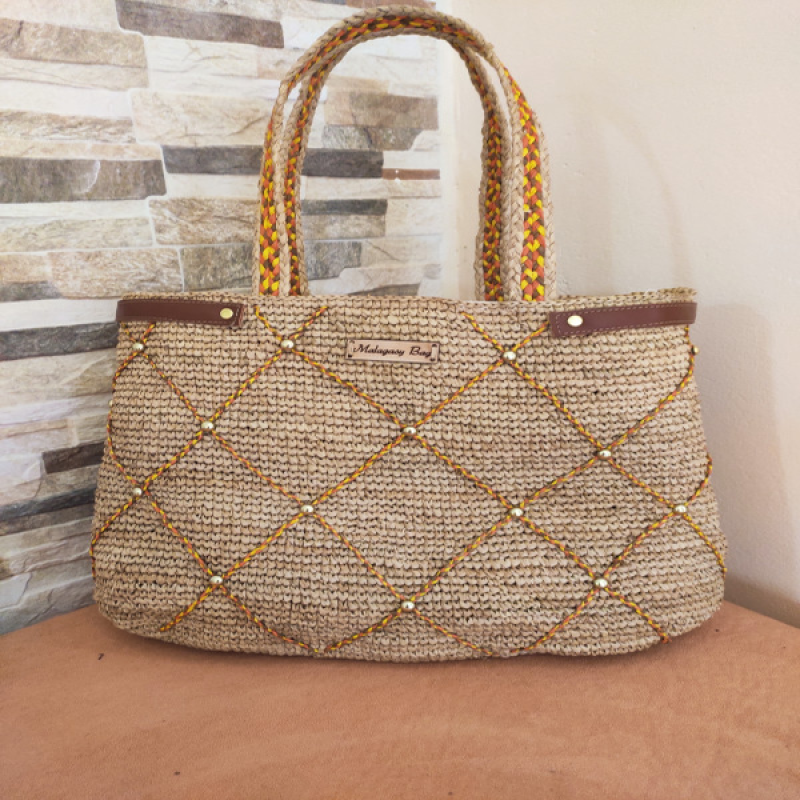
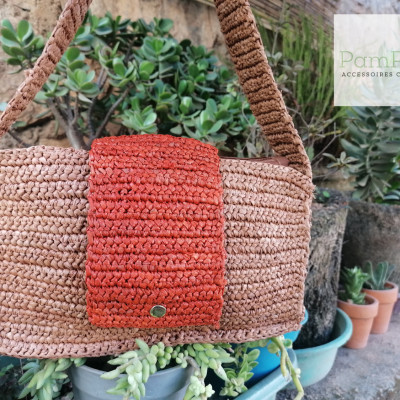
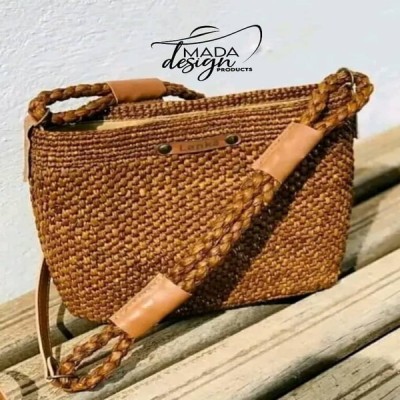
Tutorial: How to make a raffia handbag

Step 1: Materials
You can find raffia in hardware stores, craft shops, and even online. Choose a color that matches your taste and style.
If the raffia is wrapped, carefully unravel it to avoid knots. Then, cut the raffia to the length you want for your bag, about 25 to 30 strands of raffia, each about 1 meter long. You can adjust the quantity depending on the size you want for your bag. I usually cut about 6 to 8 strands of raffia for each part of my bag.
To make a handbag with raffia, you will need the following supplies:
-Raffia
-Scissors
-Needle and thread
-Fabric lining
-A zipper or a button (depending on the style of bag you want)

Step 2: Get Started
Start by cutting about 25 to 30 strands of raffia, each about 1 meter long. You can adjust the quantity depending on the size you want for your bag.
Fold each strand of raffia in half and tie them together in a knot about 10 cm from the end.
Using the knotted raffia strands, start weaving a rectangular shape for the base of your bag. You can use a basic weaving technique for this, alternating the raffia strands over and under the previous strands.
Once you have the desired rectangular shape, you can start weaving the sides of the bag using the same weaving techniques. Make sure to weave the raffia strands tightly to avoid holes in the bag.
Once you have woven the sides of the bag, you can add handles using additional strands of raffia. Weave them onto the sides of the bag and tie them firmly in place.

Step 3: Finishing
Add a fabric lining inside the bag for more strength and to protect your belongings. To do this, cut a piece of fabric the size of your bag and sew it in place.
Add a zipper or a button to your bag to close it. If you are using a zipper, sew it in place at the top of the bag. If you are using a button, add a loop on the top of the bag to hold it closed.
Finish your bag by cutting the remaining raffia strands to the same length and tying the ends to prevent them from unraveling.
And there you have it, your raffia handbag is ready!


 Sculptures
  Santé & Beauté
  Maison et décoration
  Cadeaux
  Sacs
Sacs 


